Laser Cutting: Part Three (Into Rhino for cut and assembly) [Updated with Photos]
Presentation: Here
Good Photos:


Progress: Extended
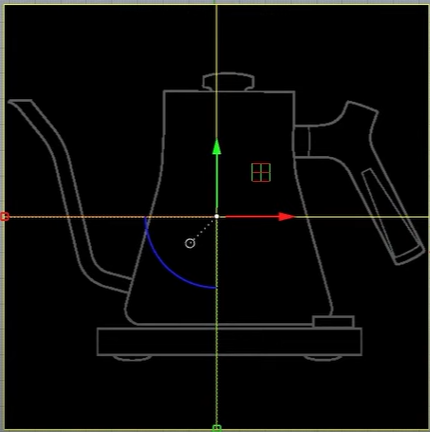
In Rhino:

Brought the file from Illustrator to Rhino.
Measuring and rescaling - I want the frame to be around 8 inches from the two long ends


Turning it to the proper scale


Starting to make things 3D


Seeing the line widths and making sure they are cuttable


For the antennae - the extrude gave me a warning that this was happening - so I had to fix it


The ferns, since I made them weirdly in Illustrator, were difficult to work with in Rhino. But I tried my best to get a few different varieties.

The one part of the fern didn't want to extrude, so I had to fix the curve.

Fixing the ferns so that they will not only extrude but also not be cut into chunks and stay as one piece.


Fixed the ferns (both halves) - at this point I think that doing the ferns as a test would probably be the best idea. Since they are going to be some of the thinnest and most delicate things to cut.

Turned into one shape

Make into different variations


The one fern I wanted to place behind the bug would be on the same level as the frame - so I decided to cut that particular fern in two and then further layer the two parts.


Check-in to see if everything is going good - there was some overlap that needed to be fixed.


Material - semi-render

Layering - colourized

Decided to make some other specific shapes to flesh out the scene - a boolean split with the grass and the frame.

Made a second frame and will have the fern cut through the frame - bust/cut out


Changed my mind and decided to etch into the back panel

More mini-renderings


Set up for the adjustable stand


Cutting Set up:


.jpg)
For some reason, the second frame layer (with the bug cut into it) wouldn't cap. I believe it was due to some things not lining up, but it was taking too long to figure out and fix...so I moved on to the next step.
Cutting:


Assemblage + Final:


Glue tests - I had these dimensionals (the second picture) that are raised adhesive things, I needed two in order to get the right height. Then I also had regular glue and more heavy duty double sided tape.


Bug assemblage - checking again a strength test for my glue. Especially with overhaning beats.


REDO
I had put in the back piece, but I found it wasn't sitting properly. So I used two of my long wood strips to create some better "ledges" for that back piece to attach to.


Putting in the grass and ferns. I'll be honest, this part was annoying and in no way accurate to my render. With the materials, the adhesives I had and how they reacted to the wood and how they reacted to the etched wood, I had to change things up a bit (as well as to keep things clean). I also added some white paint to the bug.
FINAL


Reflection:
I definetely learned the differences in how glue interacts with normal wood and etched wood - so for next time I definely would use different glue (and possibly use wood supports instead of the foamy things that I used (that wouldn't always stick, especially to the etched wood).
I also forgot that etched wood is a different height than normal wood - so I forgot to take that into account when building and had to do the funky thing to atach the back panel. Which worked in the end but was still annoying. So, for next time I would make sure there is a flat border of wood around said panel for the attachment.
My frame also wasn't perfectly symetrical - and I glued the two layers together in the wrong orientation. So I need to pay more attention to that.
Also get flatter wood, mine kept warping, even as it was cutting.

Comments
Post a Comment